It can be difficult to determine if you have a leak in your house. Even cameras can’t always show you what you need to know about the inside of your pipes, especially when it comes to a leak.
A hydrostatic plumbing test can be the best way to get the job done. However, you should know how to perform the test properly to get the best results.
In this PlumbingNav guide, we will cover:
What is a hydrostatic plumbing test?
When should you do a plumbing pressure test?
Supplies you’ll need for hydrostatic testing
How to perform a hydrostatic test (5 Steps)
What's In This Guide?
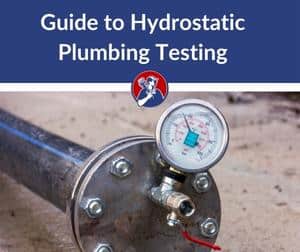
What Is A Hydrostatic Plumbing Test?
A hydro test involves filling the area in question with a special liquid and then applying pressure to find the location of any leaks. This is different than tests that use air, such as a pneumatic test.
Leaks develop due to roots and other natural growth underground. The weight of soil can also add too much pressure on underground plumbing, causing the joints to become loose.
Hydrostatic pressure testing can be used to find leaks in the following parts of your piping system:
Pipelines
Boilers
Fuel tanks
Sewer lines
When Should You Do A Plumbing Pressure Test?
5-Year Hydrostatic Plumbing Pressure Test
Most commonly, people perform a 5-year hydrostatic plumbing test every 5 years as part of a plumbing maintenance program. This particularly applies to fire sprinkler systems that aid in fire safety. It’s also extremely important for commercial properties.
It’s also a good idea to perform a plumbing pressure test before buying or selling your home to ensure that you and the other party are on the same page when it comes to the condition of the plumbing system.
After the installation of a new water supply system, you will also need to get a hydrostatic plumbing test whenever the system delivers water over 100 psi.
Supplies You’ll Need For Hydrostatic Testing
Hose
You may need a hose to help you fill your plumbing system with water. Check out the best water heater hoses that can help you get the job done.
Hydrostatic Test Pump
A test pump applies design pressure into the system while also providing a pressure gauge for you to see if pressure can somehow escape.
Endoscope with Locator
An endoscope used for plumbing is a long, flexible tool with a camera at the end of it. Many models also have a transmitter automatically installed into it. It can help pinpoint the exact location of a problem with a receiver running on the same frequency. This is sometimes called a sewer camera with locator.
How To Do A Hydrostatic Plumbing Test (5 Steps)
You can perform a hydrostatic plumbing test yourself rather simply. Here is a step-by-step guide on how to use a hydrostatic plumbing test to find a leak.
Step 1: Verify Correct Pressure Levels
You do not want to use too much pressure or you may risk causing damage. At the same time, you want to generate more than the standard amount of operating pressure (about 125% – 150%) to ensure that your system can handle the pressure (literally) when pressure levels get higher than you expected.
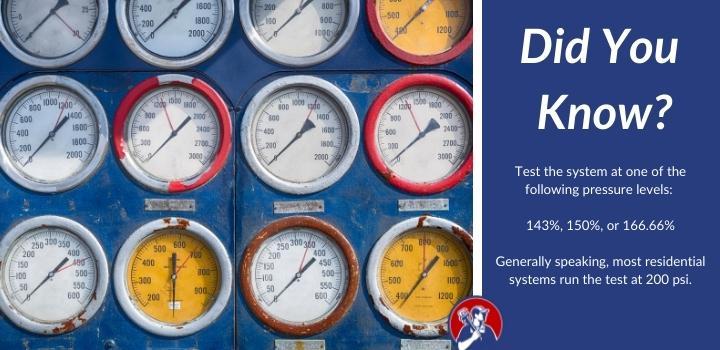
You will test the system at one of the following pressure levels:
143%
150%
166.66%
Generally speaking, most residential systems run the test at 200 psi.
Step 2: Fill Sewer Line
You need to fill the entire system with water, preventing normal water flow and filling the plumbing to the very top of the slab.
To do this, put an inflatable ball, also known as a test plug, in the cleanout to block the sewer line near the edge of the foundation. After you place the specialized ball, you will turn on the water for about 30 minutes to fill the pipes. It’s best to fill using a light water flow.
Step 3: Verify Existence of Leakage with Test Pressure
At this point, you should be able to tell if there’s a leak.
You will apply a pump to your system and generate the appropriate amount of pressure into your plumbing system. After you generate pressure, you will check the pressure gauge to ensure that the pressure levels stay at your setting. If the pressure drops, you have a leak.
Step 4: Locate Leak
At this point, you need to find the location of the leak using isolation testing.
This refers to isolating different parts of your plumbing system and applying a pressure gauge to determine exactly where the leak exists. However, if you have a slab leak or another deep leak that’s in a difficult-to-access location, you may need to get additional help.
Step 5: Use an Endoscope with Locator
To get an actual picture of what’s happening in your pipes, you can feed an endoscope into your cleanout or in a basement floor drain. The camera may not be able to see small pinhole leaks, but they can help you determine where you may find the problem.
What To Do With The Results Of Your Hydrostatic Plumbing Test?
When you notice a problem in your plumbing system, you need to take action right away. Otherwise, any existing leak will grow and can potentially cause serious water damage or damage to the foundation of your home.
A professional will perform their own thorough plumbing system inspection and then make repairs as necessary. Once you fix the slab leak, you can fix any damage caused by the leak.
FAQs For Hydrostatic Plumbing Test
How do you do a hydrostatic test?
To perform a hydrostatic test, fill your plumbing system with water and check for pressure leaks.
How do you do a hydrostatic test at home?
To perform a hydrostatic test at home, you need to start by verifying the amount of pressure your system is designed to take. Then, you will fill the system with water (after blocking it off with an inflatable ball).
Using a pump, you will create pressure in the filled pipes and look to see if the pressure drops.
What is a hydrostatic test for plumbing?
A hydrostatic test is a test that uses water to test for a leak.
What is a 5 year hydrostatic test?
A 5-year hydrostatic test is a test specifically designed for your sprinkler system.
Meet Your Plumbing Navigator
About Plumbing Navigator
We’re passionate about all things plumbing, and love sharing tips, “how-to”, and reviewing the latest products to help make your project a success!
Learn More Plumbing Tips
Want to tackle more plumbing projects? Check out these helpful guides!
Got Plumbing Questions? Search For In-Depth Answers Below!
About Plumbing Navigator
We write about "all things plumbing," helping you navigate common questions, repairs, and the best plumbing products on the market.
About Plumbing Navigator
We write about “all things plumbing,” helping you navigate common questions, repairs, and the best plumbing products on the market.